Concert Photography Settings: How I Shoot Gigs and Festivals (With Real Examples)
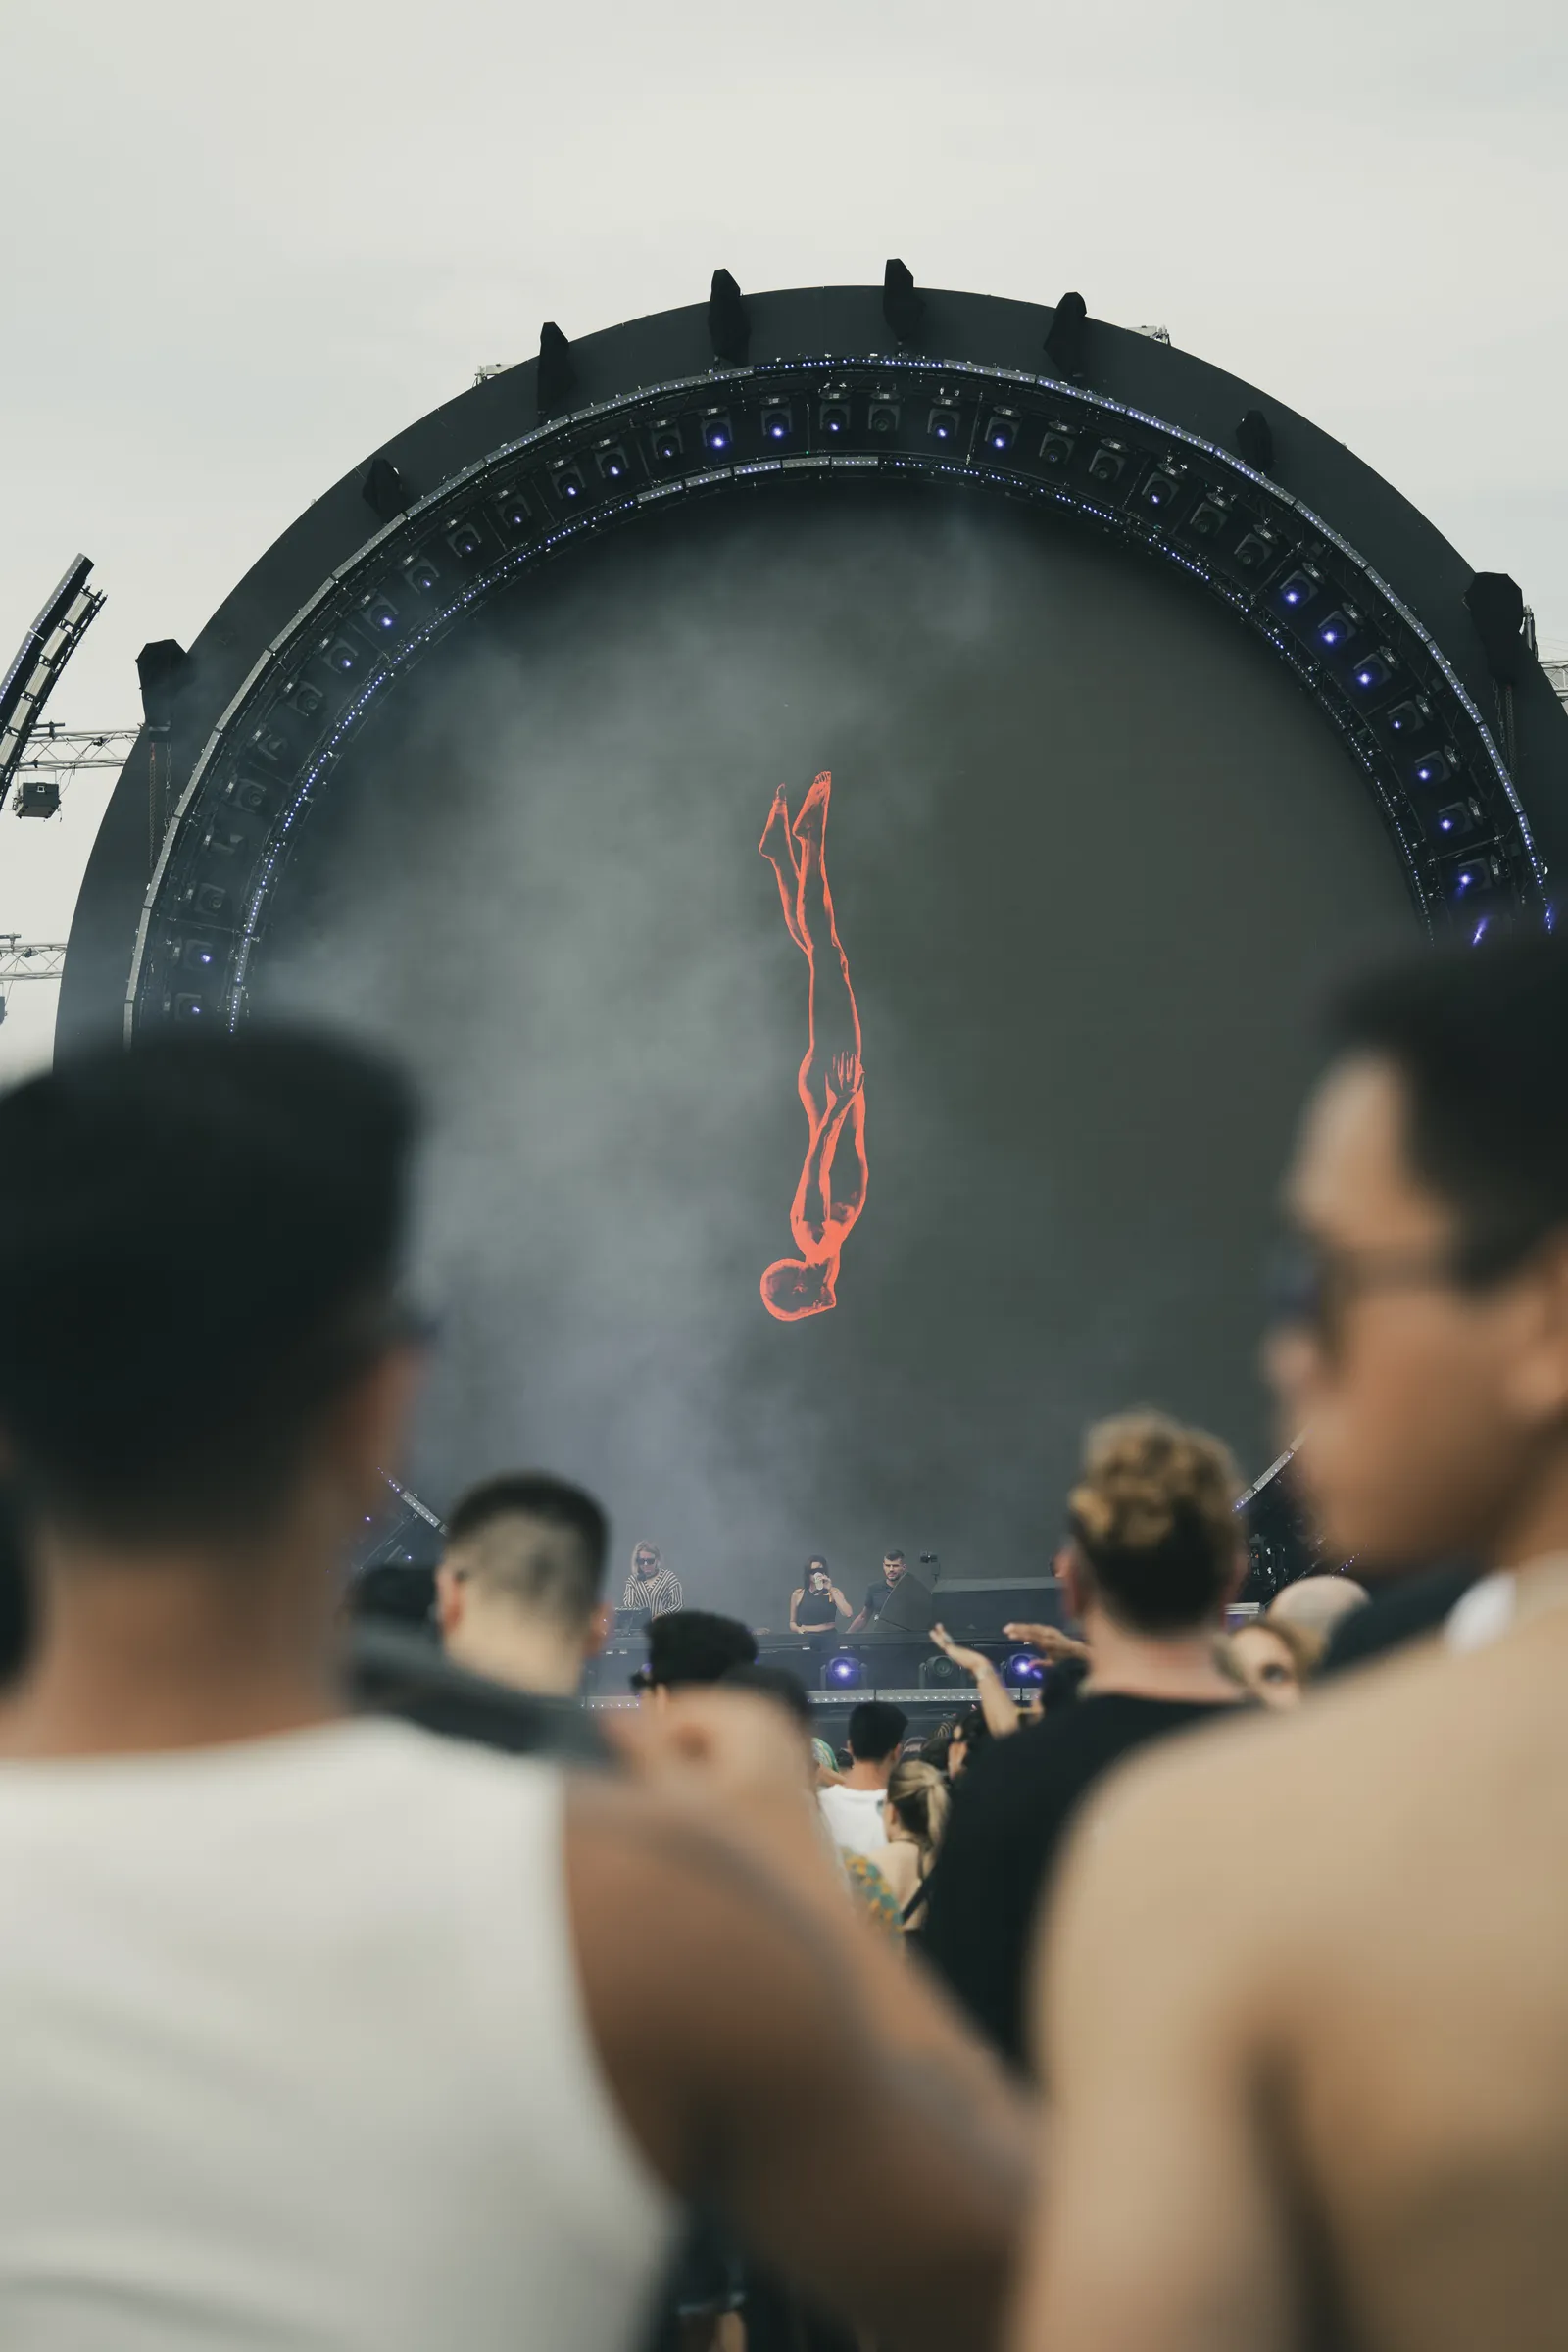
I've photographed festivals like BBK Live, BIME, Sonorama Ribera, Afterlife and OFF Week in Barcelona, and the question I get most is always the same: what settings do you use? This is my complete answer, with the reasoning behind every choice and real photos from my own shows, including the raw file straight out of the camera next to my final edit.
Short version: manual mode, 1/200s, f/2.8 and auto ISO. Now let's go through why, and when I change it.
My cheat sheet
| Setting | What I use | Why |
|---|---|---|
| Mode | Manual + Auto ISO | I control shutter and aperture; ISO follows the lights |
| Shutter speed | 1/200s (1/320–1/500 for jumping, 1/125 for slow songs, around 1/100 for wide stage shots) | Freezes movement without killing the light |
| Aperture | f/2.8 wide open | Maximum light; f/4 when I need two people sharp |
| ISO | Auto, capped around 12,800 | Noise is fixable; motion blur isn't |
| Autofocus | Continuous (AF-C), Tracking + Eye AF | Performers never stop moving |
| Shutter type | Mechanical | Avoids LED banding |
| Drive | Continuous, low or mid speed | Short bursts at peak moments, not machine-gunning |
| Exposure | Slight negative compensation (−0.3 to −0.7) | Protects faces and highlights under spotlights |
| White balance | Auto | I fix color later in Lightroom |
| File format | RAW | Stage light needs room to correct color and exposure |
My kit: one body, one lens
I shoot with a Sony A7 IV and a Sony FE 24-70mm f/2.8 GM II. For me it's the most versatile combination there is: from the pit I can go from a wide shot of the stage and the crowd at 24mm to a tight portrait of the singer at 70mm without changing lenses, and the constant f/2.8 aperture keeps working when the lights drop.
How much do I rely on it? I checked the archive on my hard drive: out of the 50,562 photos I've taken with my A7 IV, 49,907 were shot with this one lens. That's almost 99%.
Sony itself recommends this lens for photographers close to the stage. Many professionals also carry a 70-200mm f/2.8 for big stages where the pit is far away, or a fast prime like a 35mm f/1.4 for very dark clubs. But if you can only have one lens for live music, a 24-70mm f/2.8 covers almost every situation.
Shutter speed comes first
Everything starts here. A slightly noisy photo can be saved; a blurry one can't. My baseline is 1/200s, and I adjust depending on the energy on stage:
- 1/125s for slow songs, acoustic sets or a singer standing still at the mic.
- 1/200s as my default for most performances.
- 1/320s to 1/500s for jumps, headbanging, rappers moving across the stage or DJs throwing their hands up.
- Around 1/100s for wide shots of the whole stage and the crowd at 24mm. Nothing in the frame moves fast at that distance, so I can trade shutter speed for a lower ISO. (In Europe, 1/100s is also one of the flicker-safe speeds, more on that below.)
This lines up with Sony's own advice for concert photography: auto ISO with a minimum shutter speed somewhere between 1/125s and 1/250s, depending on how much the artist moves.
Aperture: wide open, most of the time
I shoot at f/2.8, the widest my lens goes. Stage light is unpredictable and every bit of light helps keep the shutter fast and the ISO reasonable. It also separates the performer from a messy background of trusses, cables and speakers.
I only stop down to f/4 when I need two people sharp at different distances, like a singer and a guitarist facing each other.
ISO: let it float
This is where most beginners go wrong: they protect the ISO and end up with blurry photos. I use auto ISO and let it climb. Modern full-frame sensors handle ISO 6400 and beyond very well, and with Lightroom's AI noise reduction, high-ISO files clean up beautifully.
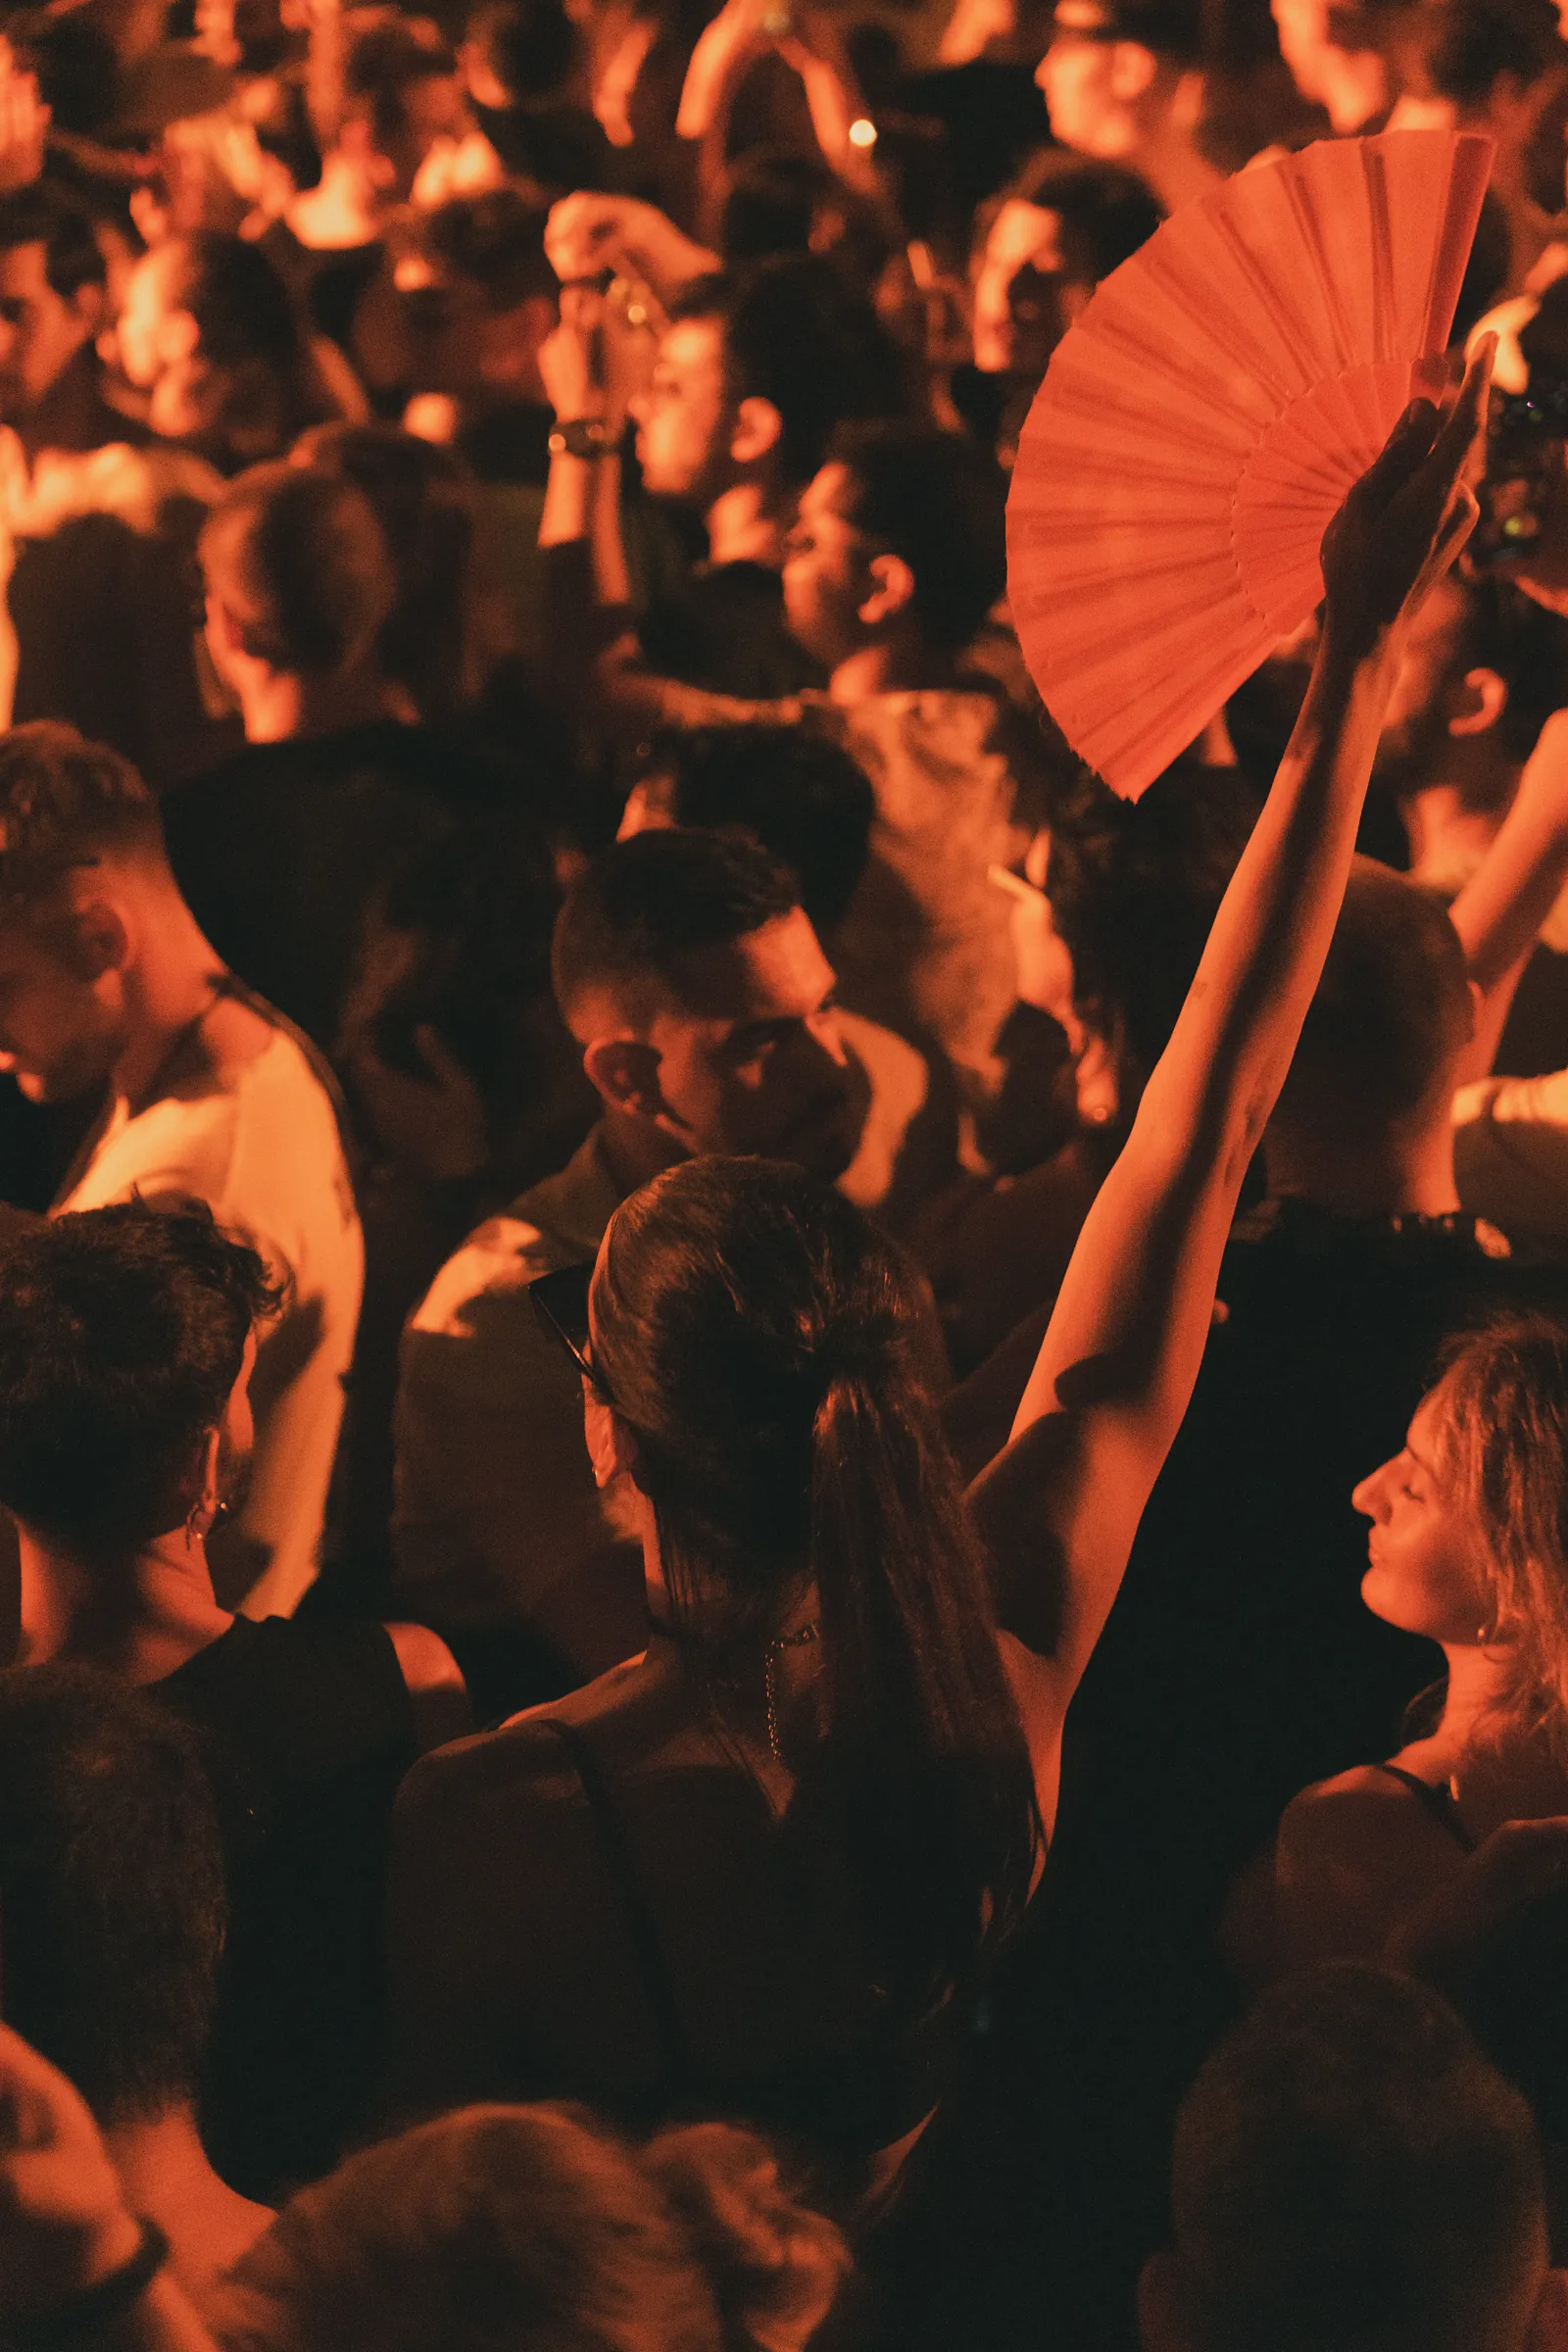
The photo below was shot at ISO 12,800, the top of my auto ISO range, after 1 a.m. at OFF Week.
Autofocus that keeps up
Performers never stand still and stage lighting changes every second, which confuses autofocus. My setup:
- Continuous AF (AF-C), always.
- Tracking with a small focus area (Spot or Zone), placed on the performer's face.
- Eye AF on. When it locks, it follows the artist even when they turn.
When there's heavy haze or the face is in shadow, I put the focus point on the brightest edge of the subject (a lit cheekbone, the microphone) and let the camera track from there.
LED banding: use the mechanical shutter
Ever got strange horizontal stripes across a concert photo? That's banding: LED stage lights flicker faster than your eye can see, and the camera catches it.
The fix on a camera like the A7 IV is simple: use the mechanical shutter. The electronic (silent) shutter reads the sensor line by line too slowly and makes banding much more likely. I only switch to silent mode for quiet acoustic sets, and I check the first frames before trusting it.
If you still see bands:
- Turn on Anti-flicker shooting if your camera has it.
- Try shutter speeds that match the local power frequency. In the UK and Europe (50Hz), Sony suggests multiples of 50, like 1/50s or 1/100s; in the US (60Hz), the equivalent is 1/60s or 1/120s.
Lasers: protect your sensor
This is the one thing I wish someone had told me earlier. At electronic shows and big festival productions, lasers can permanently damage your camera's sensor. Sony has officially warned photographers not to point the lens directly at laser beams, and even reflected beams can be a risk.
So before I start shooting, I look at where the lasers are coming from: usually the back of the stage, the truss above the DJ or the sides of the stage. Then I position myself so the beams don't sweep straight into my lens. When a laser cue starts, I'm careful with where my camera points, and I'm even more careful with mirrorless cameras: with no mirror in front of it, the sensor is exposed the whole time the camera is on.
You can still photograph lasers. Shooting the beams in the air, from an angle, is how you get those spectacular frames. Just never let the beam hit the lens head-on. The laser industry's own association, ILDA, gives the same advice.
Read the light, and anticipate it
Stage lighting runs in patterns. After a song or two you'll notice when the spotlight hits the singer, when the strobes fire and when the backlight turns the band into silhouettes. Instead of shooting constantly, wait for the light and fire short bursts when it lands on the performer.
Look for emotion: the singer's face in a key line, a glance between band members, the moment the crowd explodes. Those are the photos people remember. And watch the mic stand: shooting slightly from the side keeps it from covering the singer's face.
Photo pit rules
If you get a photo pass, these are the usual rules (always read the accreditation brief, because some artists are stricter):
- First three songs, no flash. It's the norm at most concerts. Some artists allow only one song.
- No tripods or monopods. The pit is small and you need to move.
- Share the space. Don't block other photographers, and don't stand in one spot for the whole set.
- When security says time's up, you're done. Don't keep shooting from just outside the pit.
- Wear earplugs. You're standing right in front of the PA system for every show.
Before and after: what I do in Lightroom
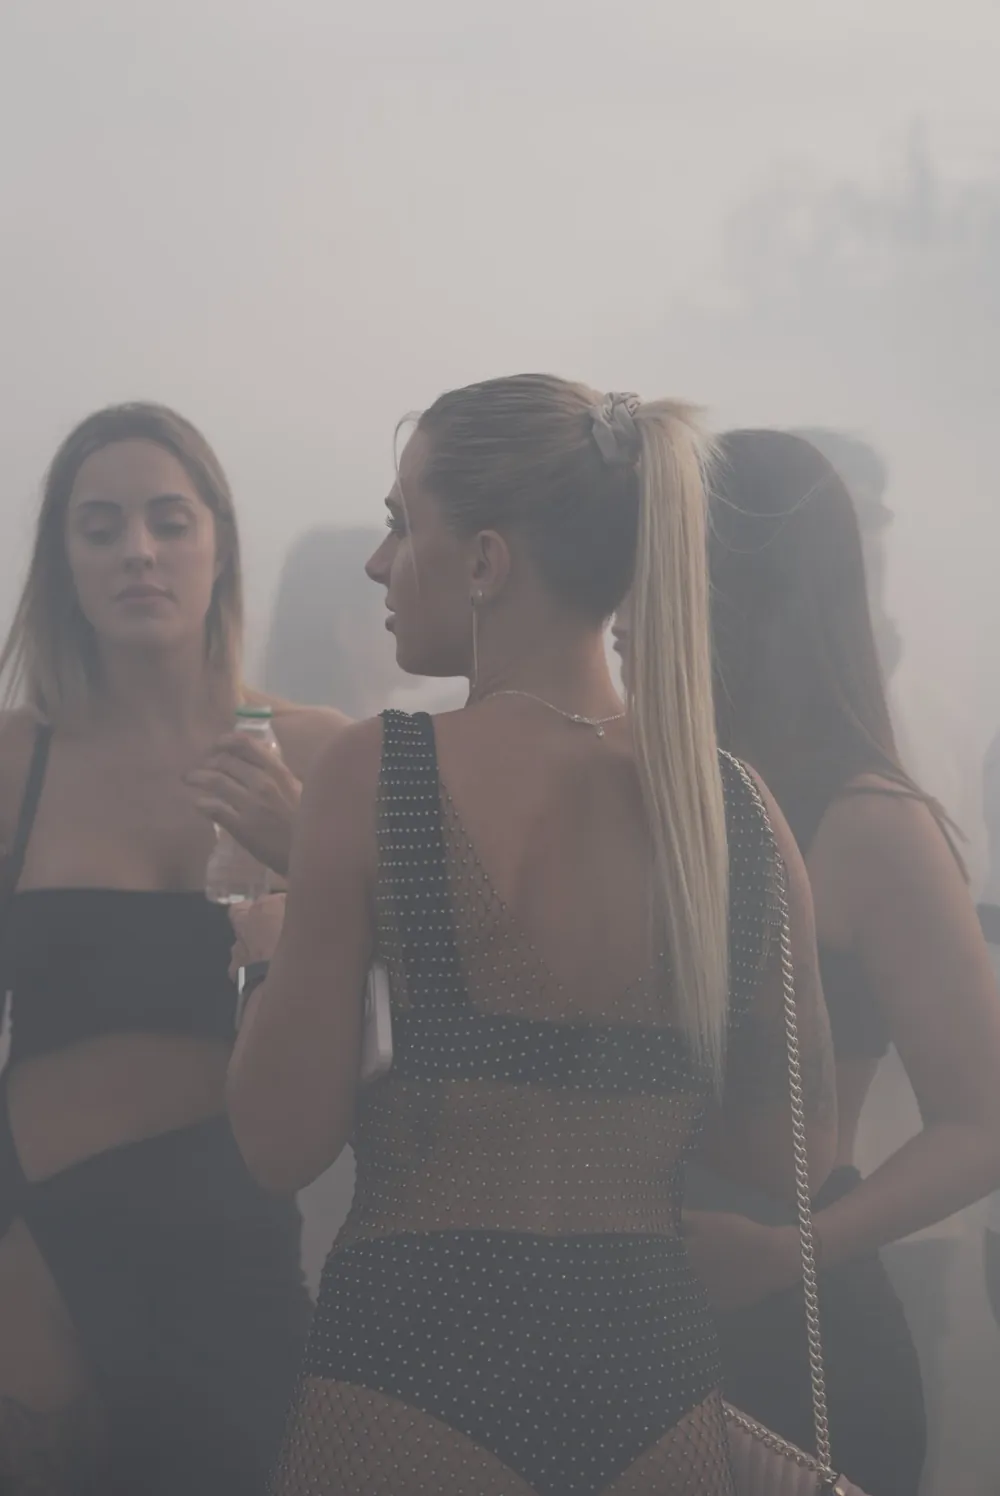
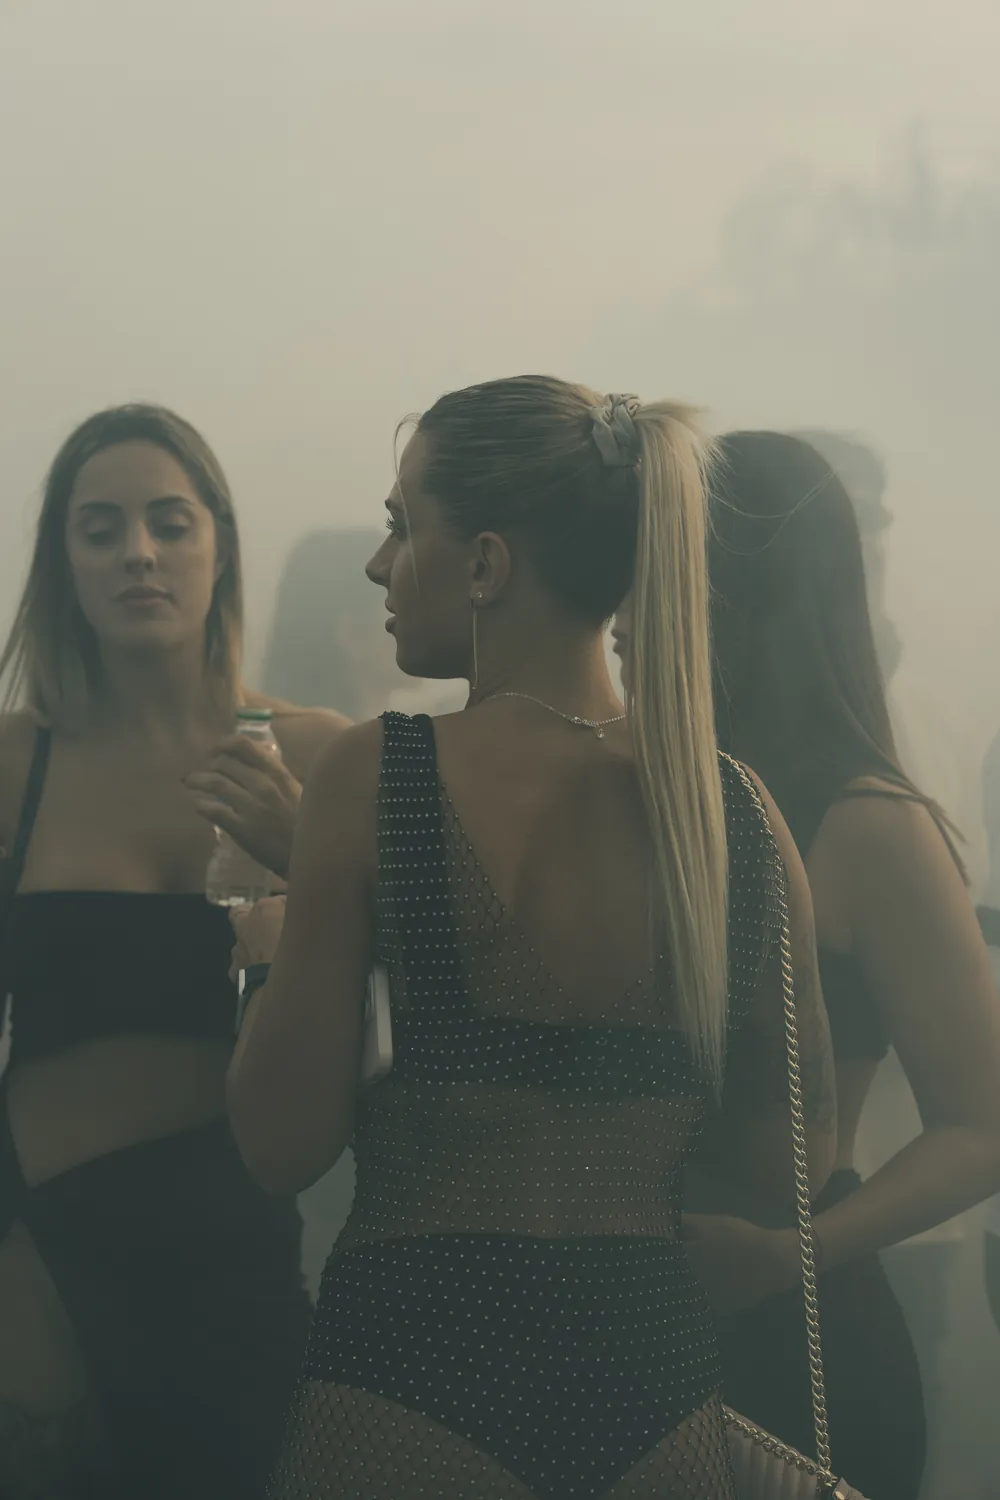
Here are four real frames from OFF Week Festival in Barcelona (June 2023). They're the same edits I uploaded to my Pexels profile, shown next to the file straight out of the camera, with roughly what I did to each one.
Daylight and a wall of smoke
Not every festival photo happens at night. Before sunset there's light to spare, so I don't need f/2.8 or 1/200s: I closed down a little and used a fast shutter to keep the people sharp inside the smoke.
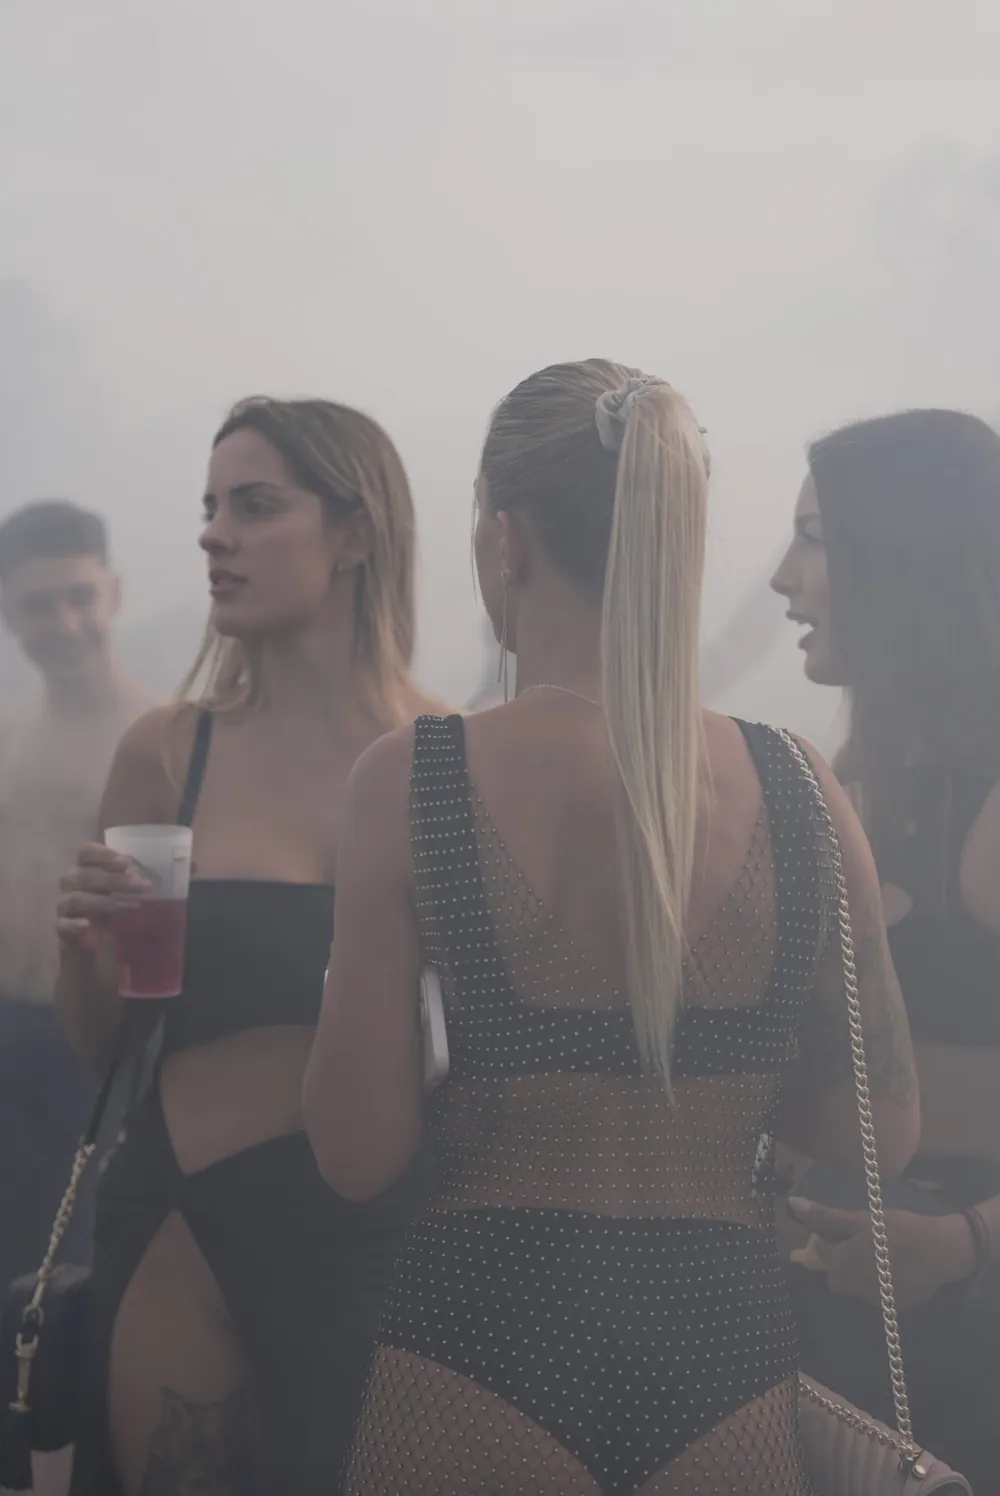
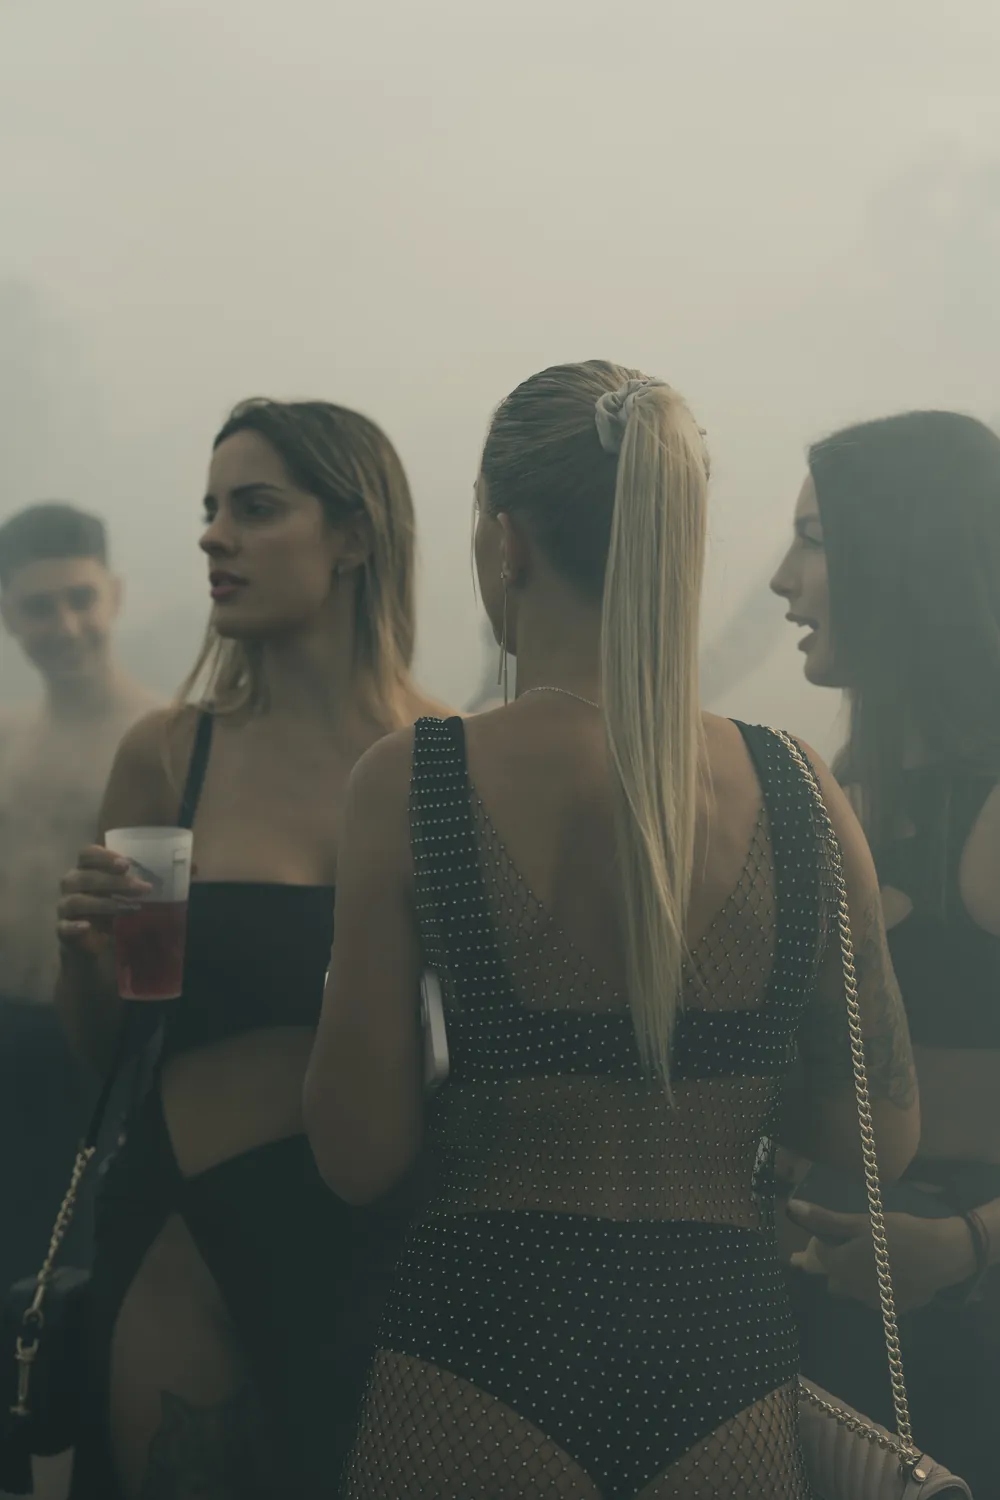
The main stage after midnight
This is where the wide end of the 24-70mm earns its place: at 24mm I can fit the whole stage, the light show and the crowd in one frame.
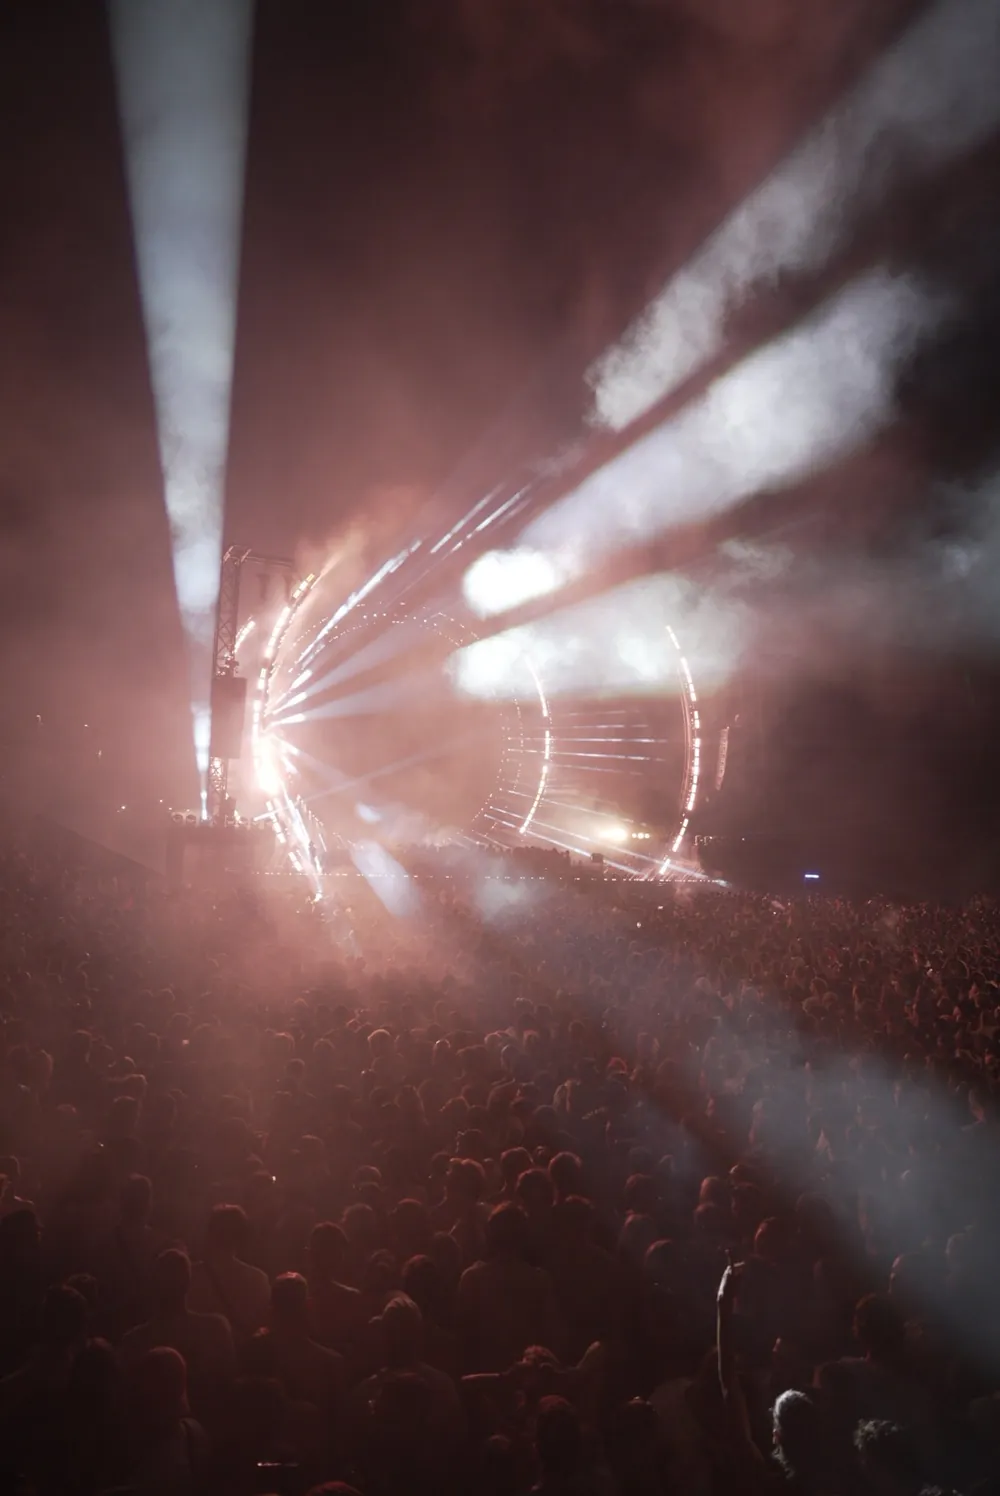
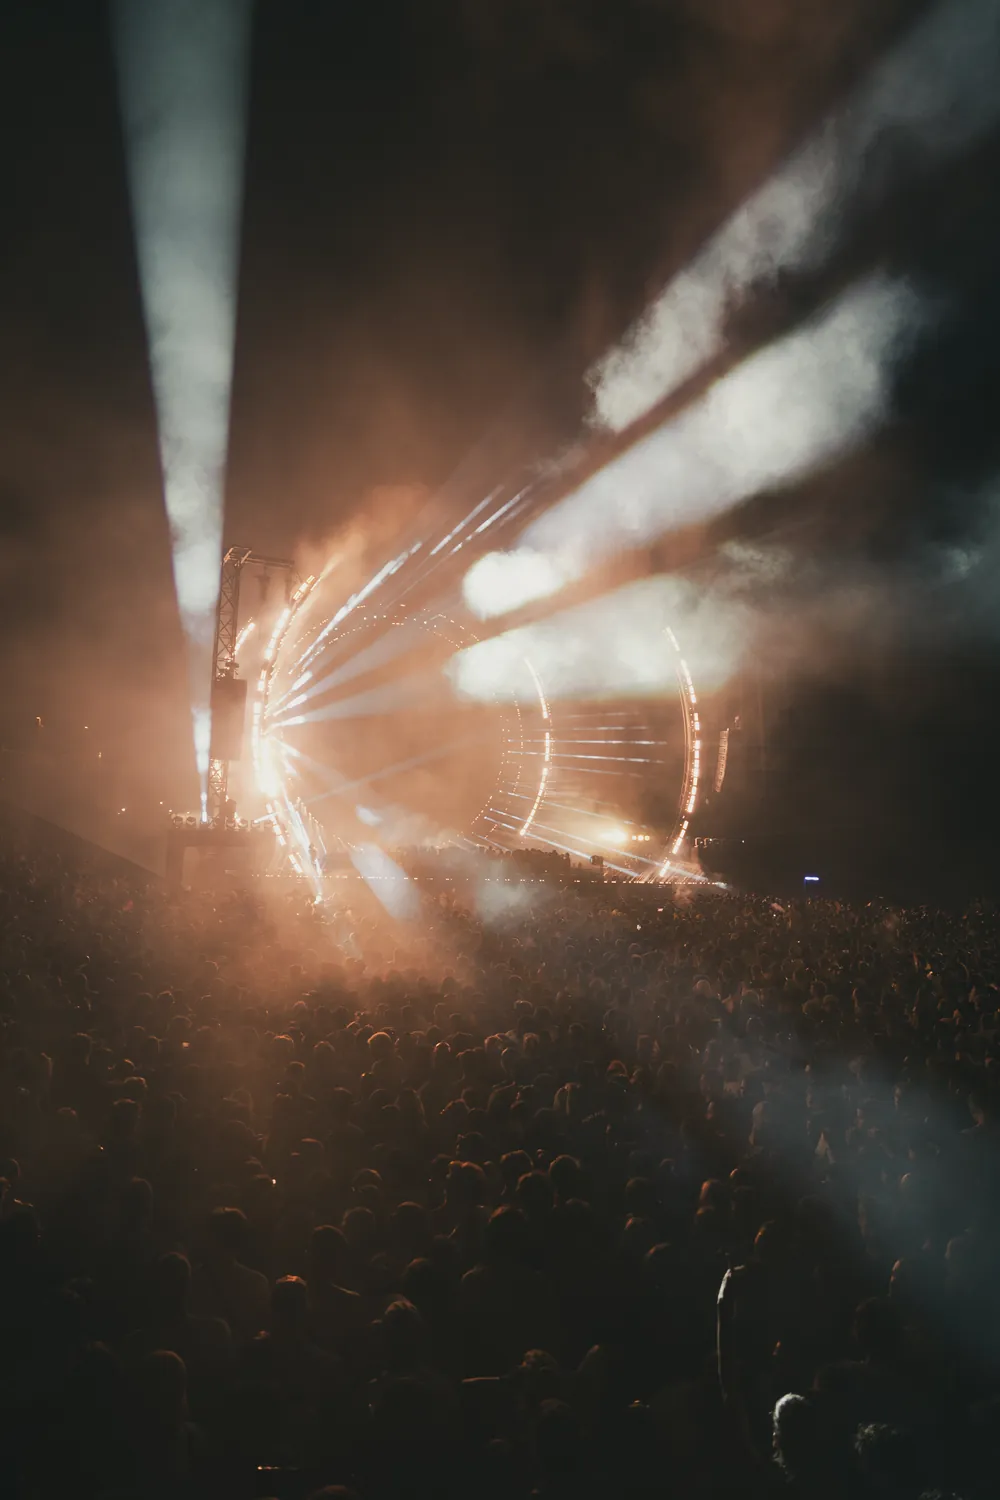
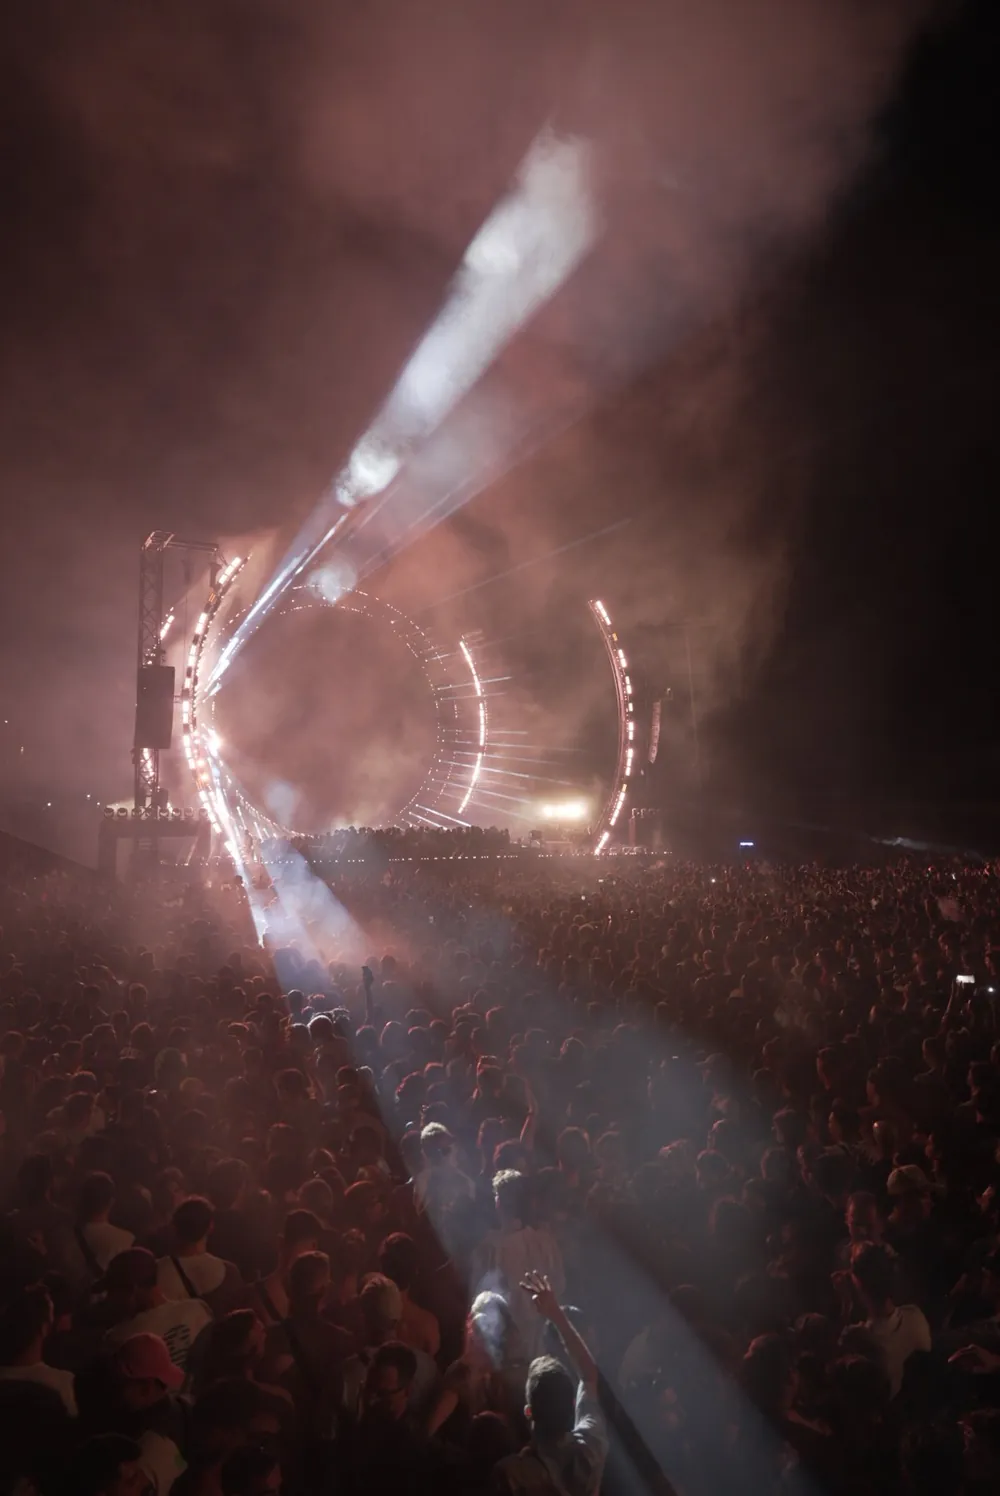
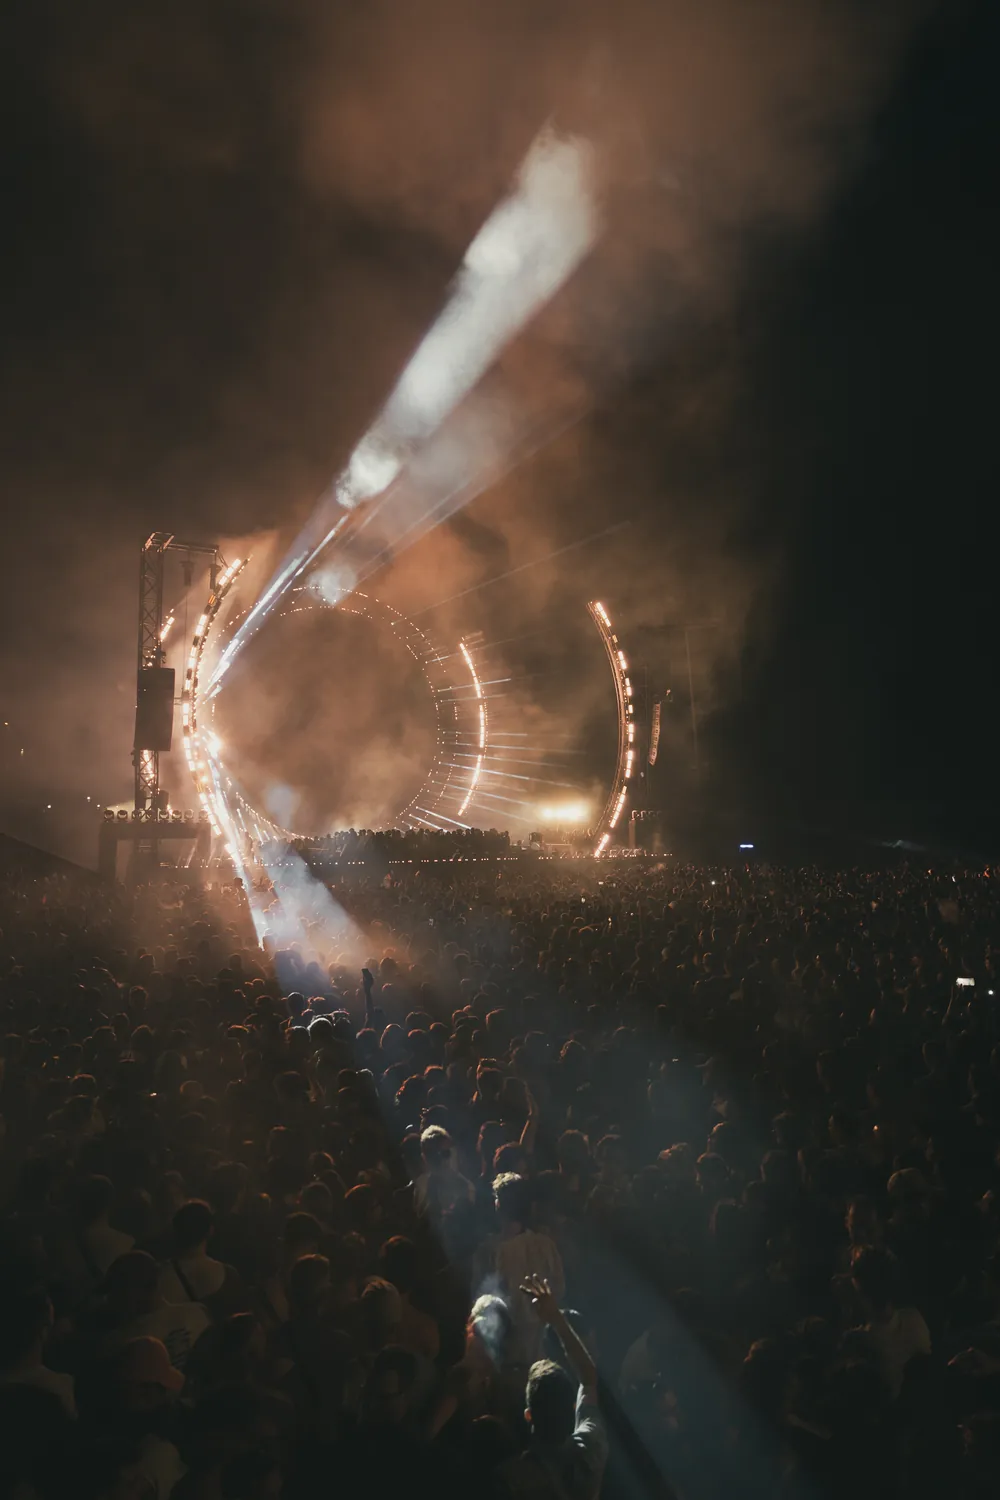
My basic order in Lightroom is always the same:
- White balance first, to get skin tones somewhere believable.
- Exposure and highlights, to recover faces burned by spotlights.
- Color (HSL): under red and magenta light, shifting reds toward orange is what saves the skin.
- Contrast and blacks, so the performer pops from the dark stage.
- Noise reduction on high-ISO files.
- Crop to remove distractions like mic stands, heads and stage equipment.
Quick answers
What are the best camera settings for concert photography?
Start with manual mode, 1/200s, the widest aperture your lens allows (f/2.8 or wider) and auto ISO. Use continuous autofocus with tracking, shoot RAW and use the mechanical shutter. Then adjust the shutter speed to the energy on stage.
What shutter speed should I use at a concert?
1/200s is a safe default. Go down to 1/125s for slow, static performers and up to 1/320s–1/500s for jumping and fast movement.
Can I use flash at concerts?
Almost never. The standard pit rule is "first three songs, no flash," and flash ruins the stage lighting anyway.
Is a 24-70mm f/2.8 enough for concert photography?
For most shows, yes. It's the lens I use for everything from small venues to big festival stages. Add a 70-200mm if you often shoot from far away.
If you want to see more of my live work, check out my festival coverage, or read what 14 million views on Pexels taught me about which concert photos people actually use.